Getting started with BuildWith IONOS
In this tutorial, we will show you how easy it is to launch your site with BuildWith IONOS.
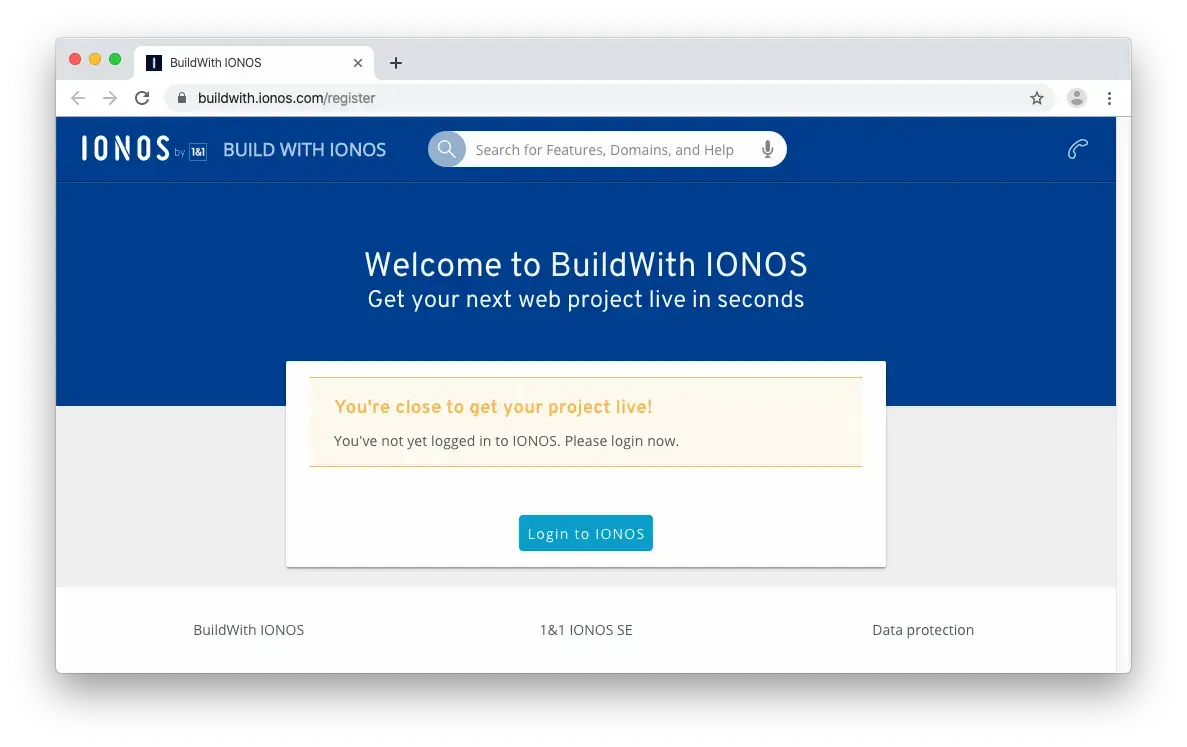
Step 1: Start
is probably the easiest way to start.
Or you login the classic way. The only thing you need is an existing IONOS contract. If you have not already an IONOS contract, go ahead and sign up for a new one.
Step 2: Connect to GitHub
BuildWith IONOS requisites your GitHub account:
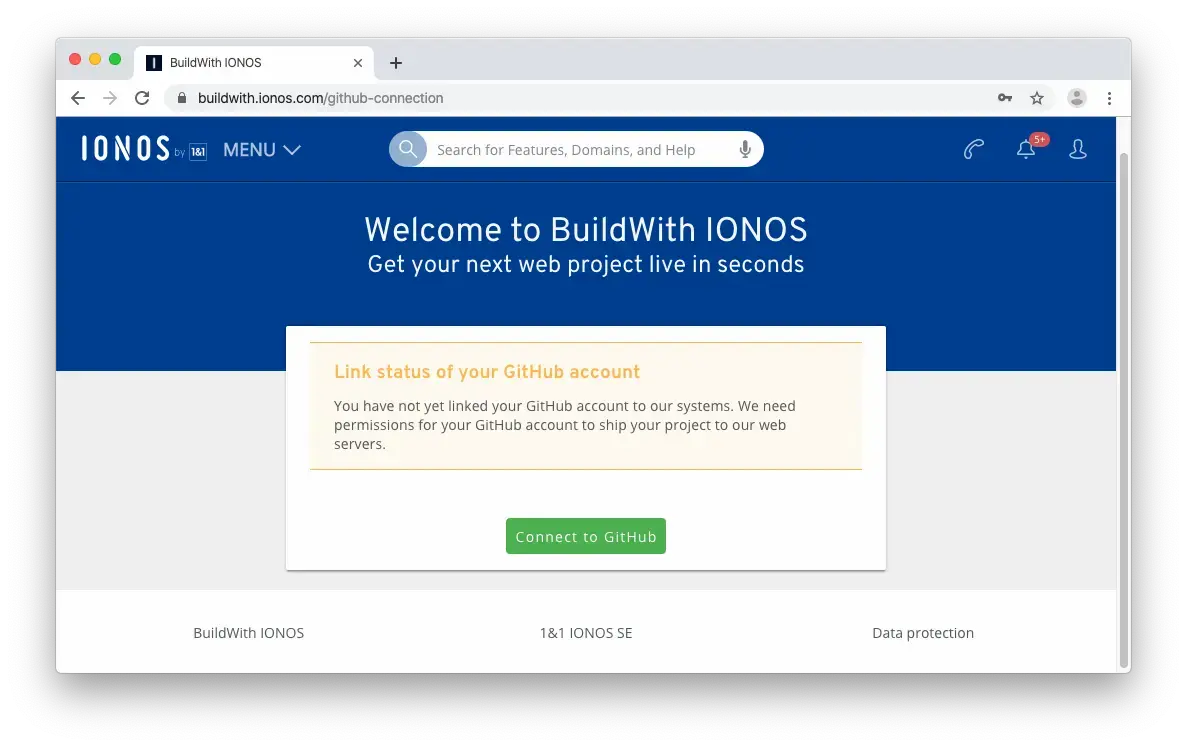
Click the Connect to GitHub button as illustrated in the screenshot above.
Step 3: Authorize BuildWith IONOS
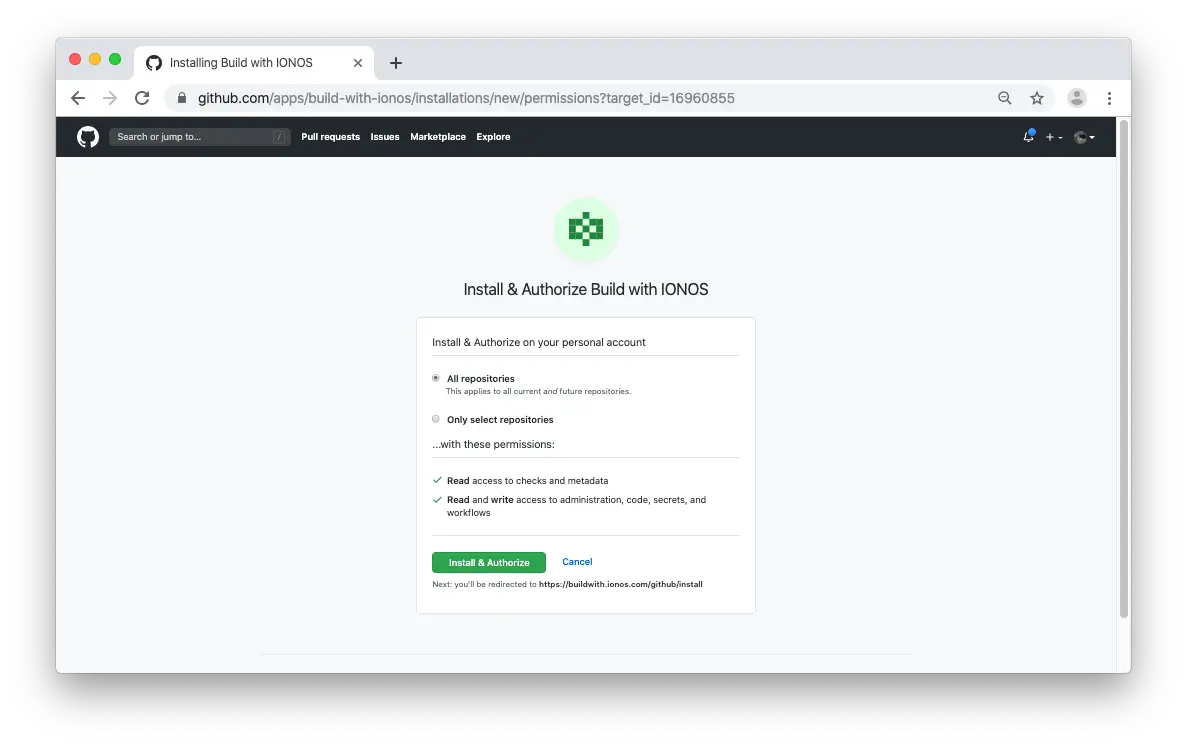
It's time to allow BuildWith IONOS and GitHub to talk to each other. Clicking the Authorize Application button will do just that. Like it says in the image above, BuildWith IONOS doesn't store your GitHub access token on our servers.
Step 4: Configure your project
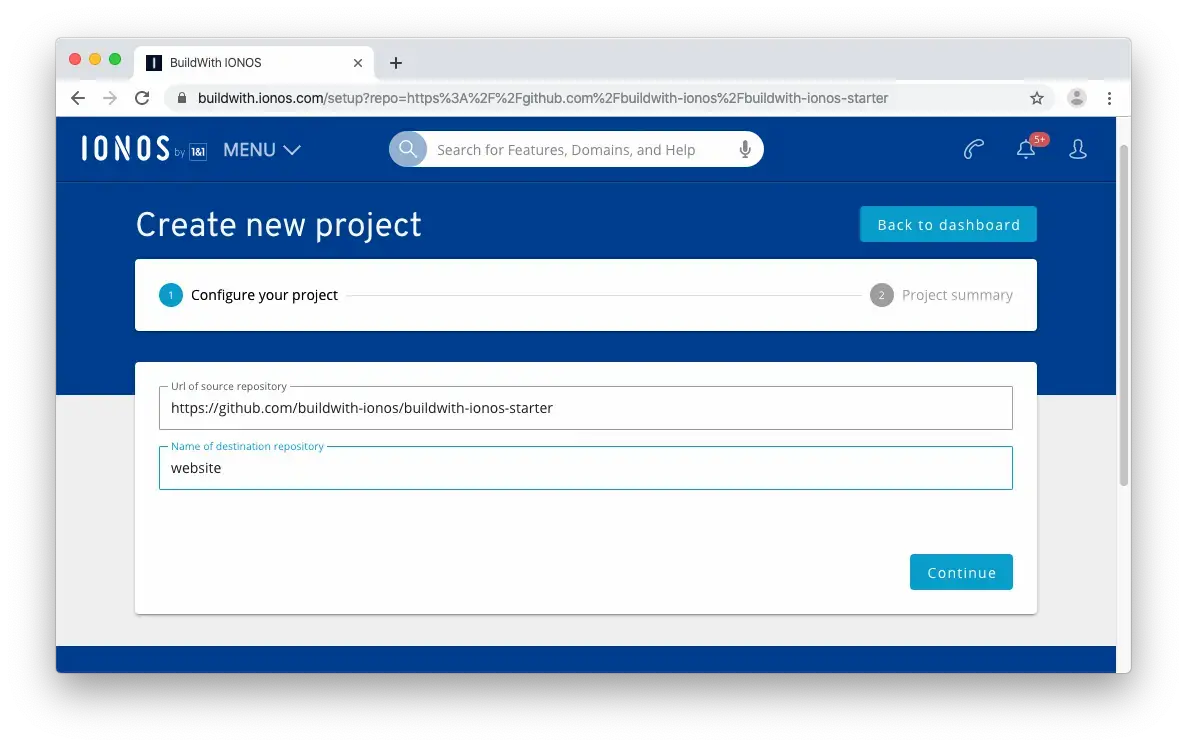
If you followed Drop to IONOS.space the source is automatically given. But you're free to choose your own project. Or simply use one of our starters to get familiar with BuildWith IONOS and create your first live web project in seconds. Click on Continue to initialize, build & drop your first web project to IONOS.space.
Step 5: Initialize, Build & Drop your first project to IONOS
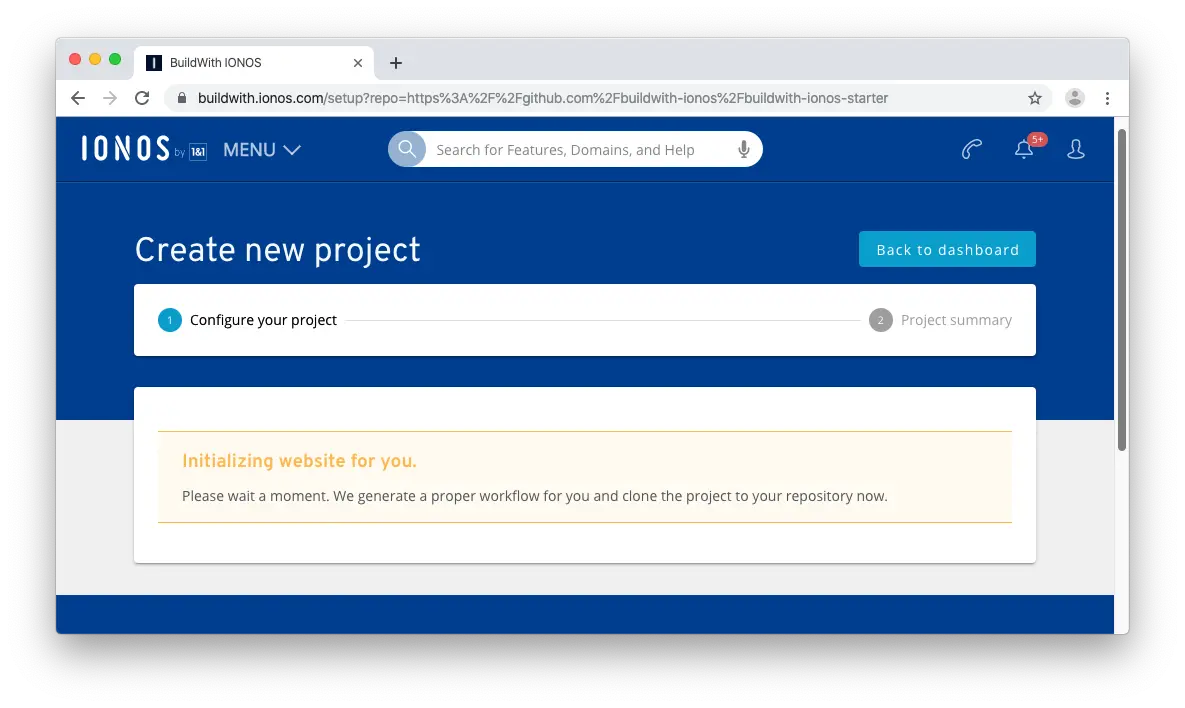
Now, we are starting to setup everything properly for you. Depending on the project size this step lasts for longer.
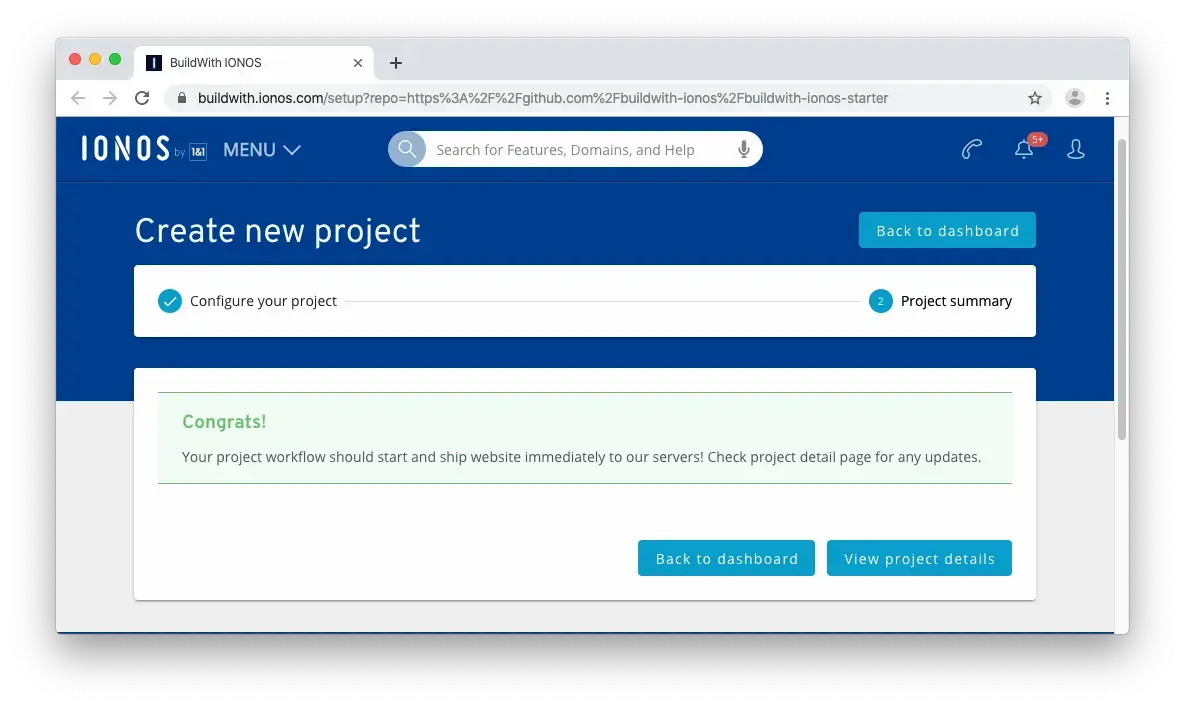
Hopefully, everything goes well all the time, you will see a success message. Click on View project details to get a detail summary of your project.

Now, your workflow with GitHub Actions should run automatically. You can check on GitHub directly or stay tuned on our detail page. Progress is indicated by state and a thumbnail screenshot as soon as your project is successful dropped to IONOS.
Step 6: All done
Once the build completes, your site is live! Head to the generated URL of your newly published site:
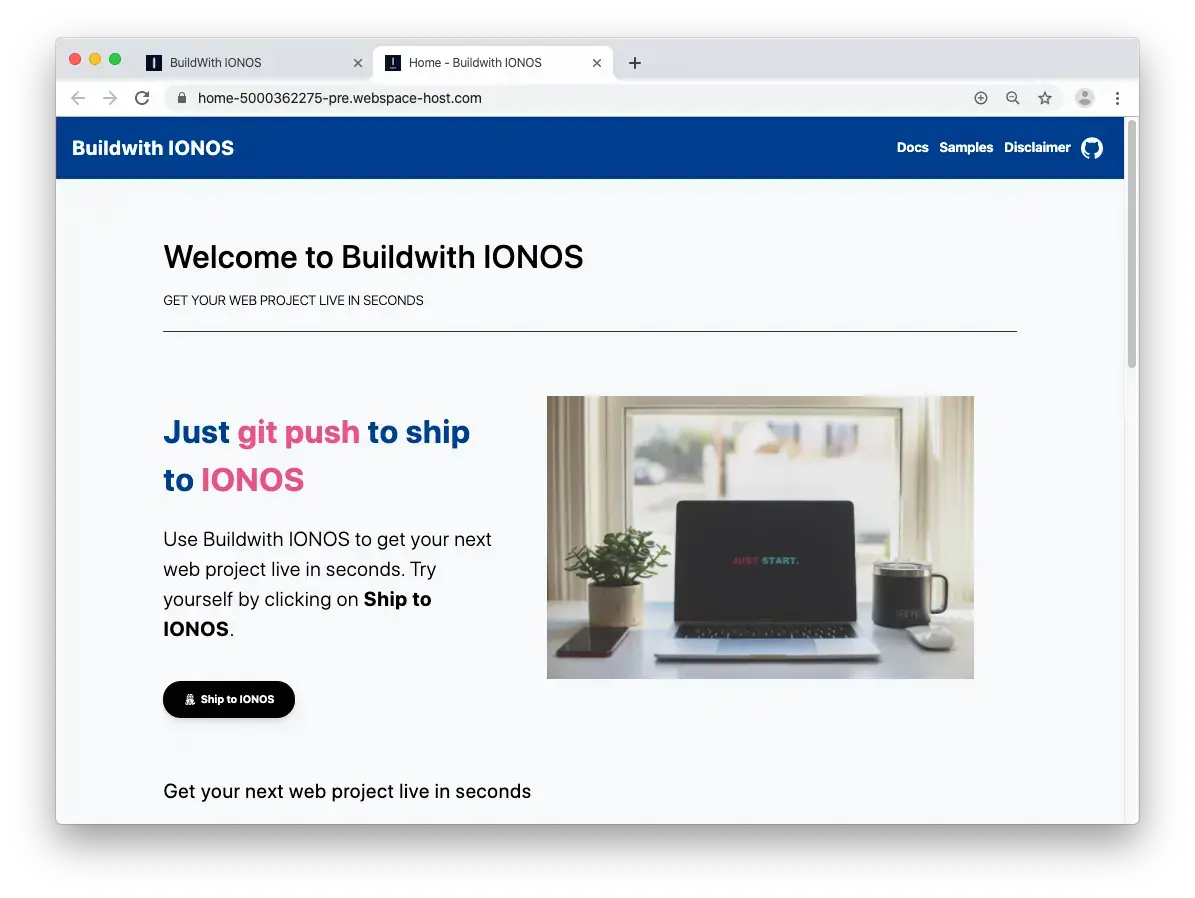
Now, you should have a copy of this website on your own. Congrats, and thanks for using BuildWith IONOS!